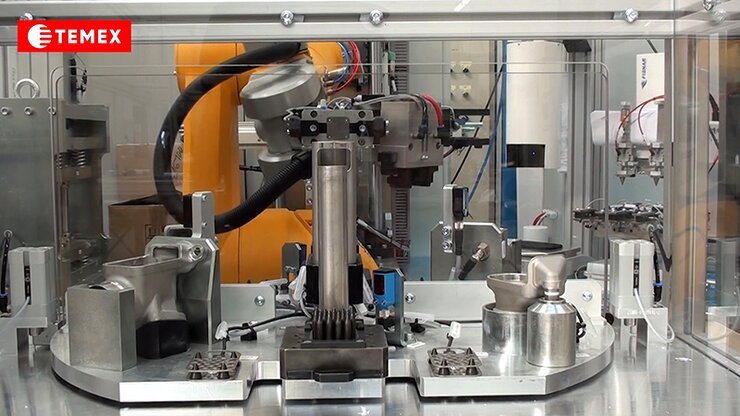
Robotic EGR valve cooler assembly line – 1st generation

Robotic assembly line with six workstations for the assembly of several types of EGR valve coolers
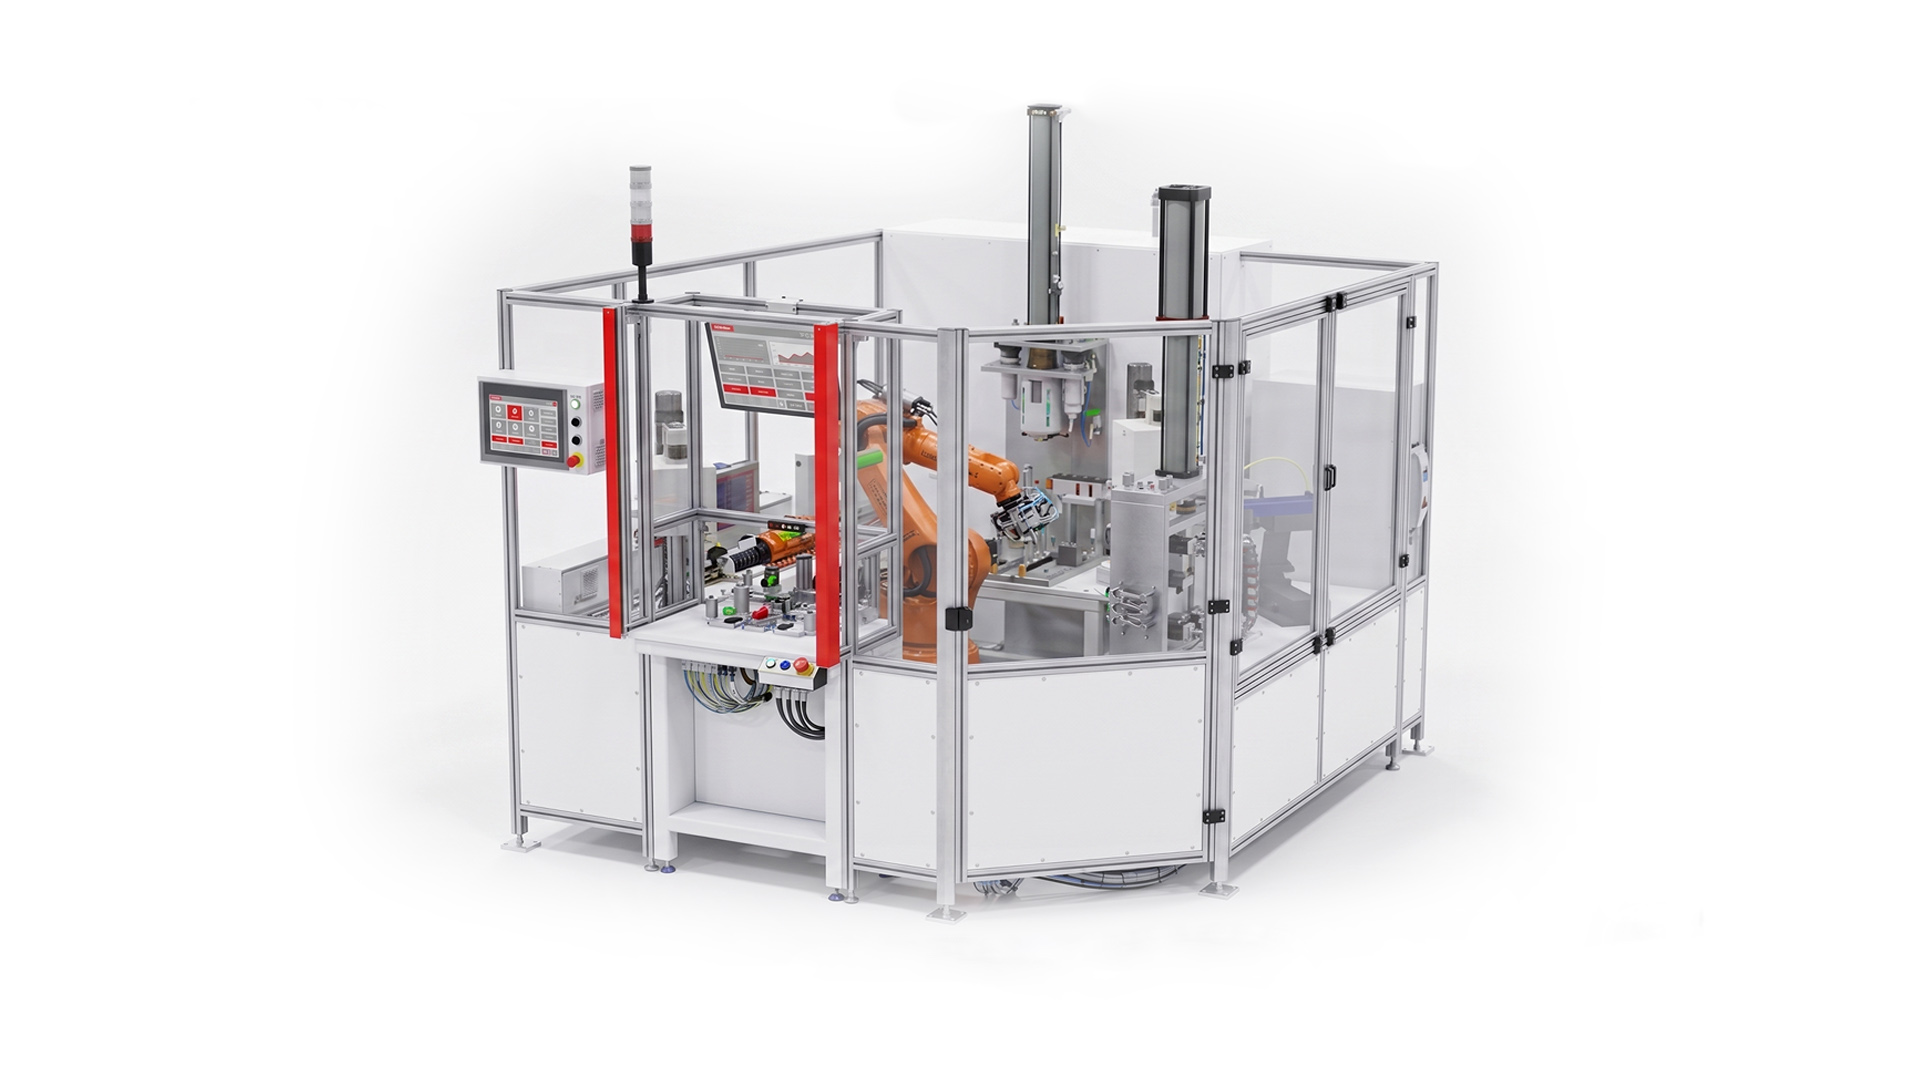
Robotic EGR valve cooler assembly line – 1st generation
Project: Robotic cooler assembly line
Number of positions in the device: 6
Term of delivery: 2016
PARAMETERS:
Length: 3200 mm
Depth: 2600 mm
Height: 2600 mm
Robots: Staübli TX90; Fisnar F5200N
Line cycle: 180 sec/pc
FEATURES:
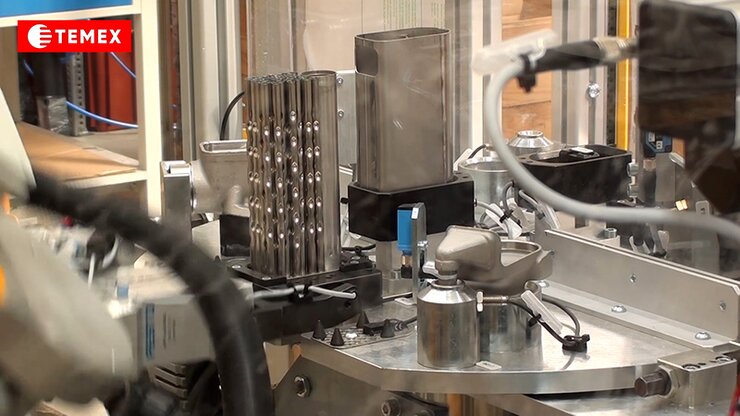
The equipment works as one complete unit, which uses six separate workstations (positions) to progressively assemble the final product, the cooler for the EGR valve.
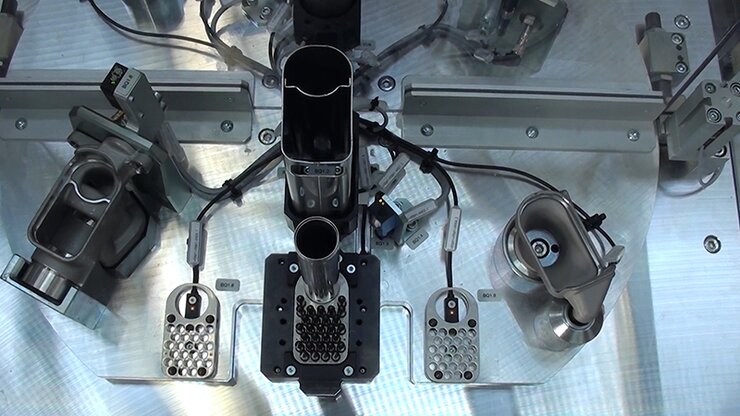
It consists of a total of 6 + 29 components:
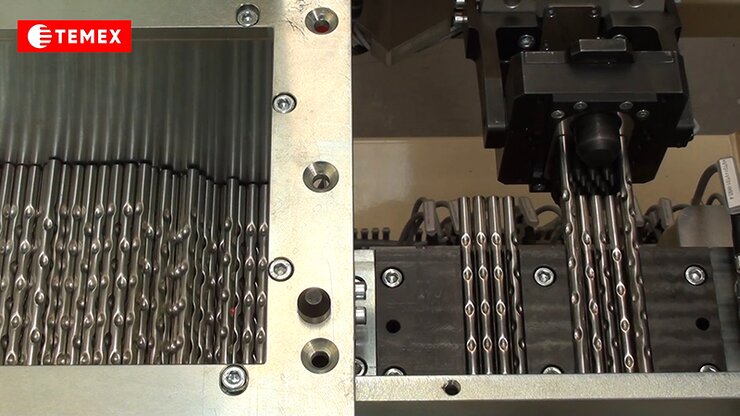
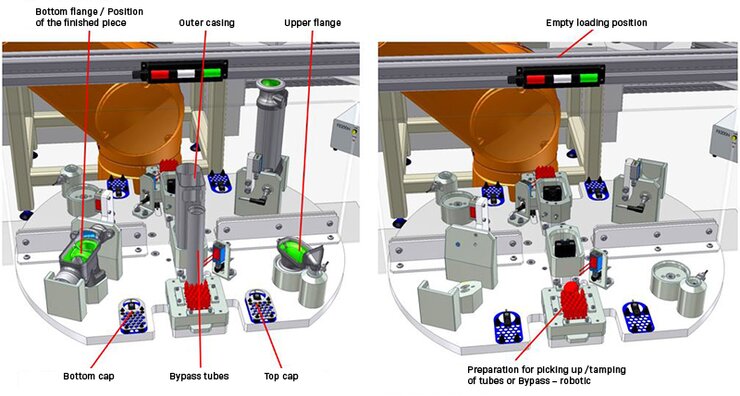
1 × Outer casing; 1 × Bottom flange; 1 × Upper flange; 1 × Bypass tube; 2 × Cap (further divided into an upper cap and lower cap) and 29 × Tubes
DESCRIPTION OF THE WORKSTATIONS:
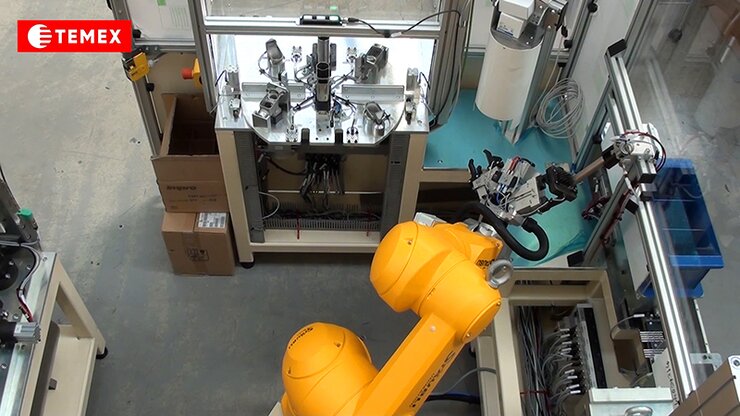
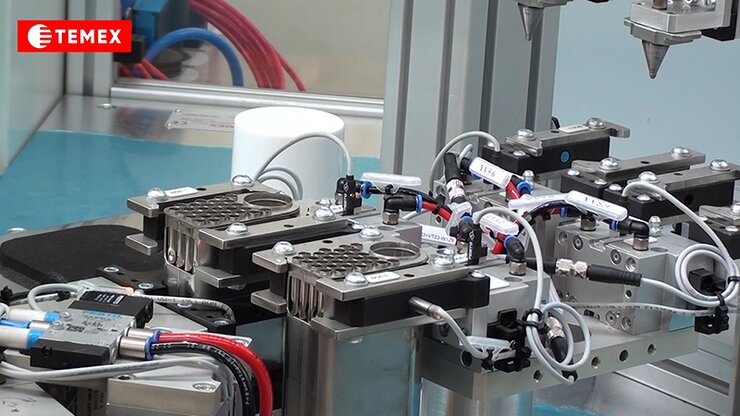
The operator in Position 1 installs all parts except the tubes. The tubes are automatically loaded from exchangeable containers (changed by the operator) by the manipulator in Position 2. The finished and pasted piece is returned to the Station 1, where the operator takes it and puts/packs it in boxes at this position. The machine always processes one product, while the operator can take/add parts to produce another product.
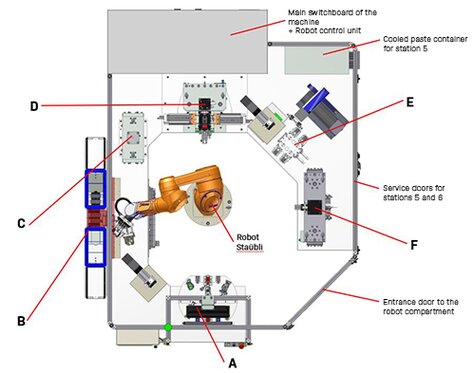
Line description (view from the top):
A) Position 1 – Loading input components by the operator onto the turntable (2 positions) + Camera control
B) Position 2 – Loading the tubes
C) Position 3 – Outer casing calibration
D) Position 4 – Threading the tubes through the caps and tamping them
E) Position 5 – Pasting + Camera control
F) Position 6 – Mounting the upper and lower flanges